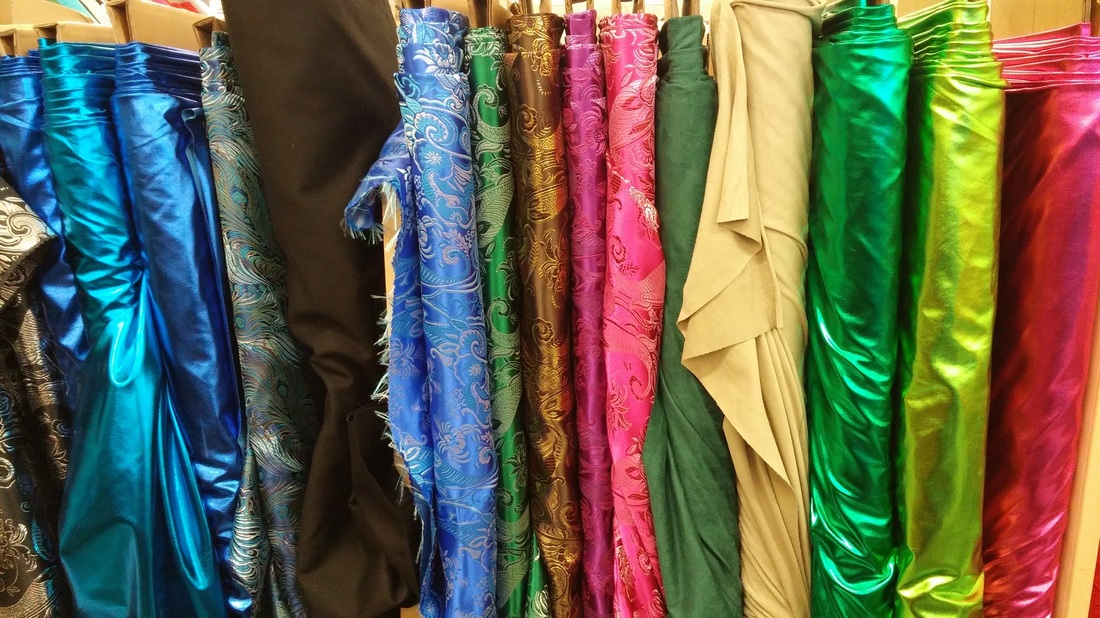
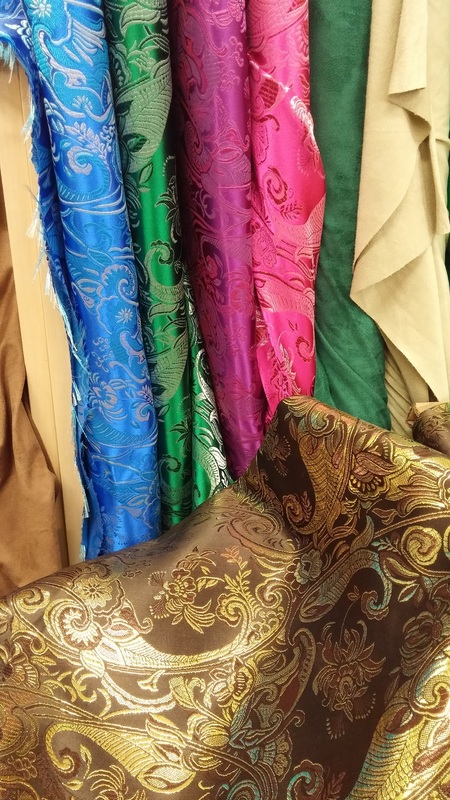
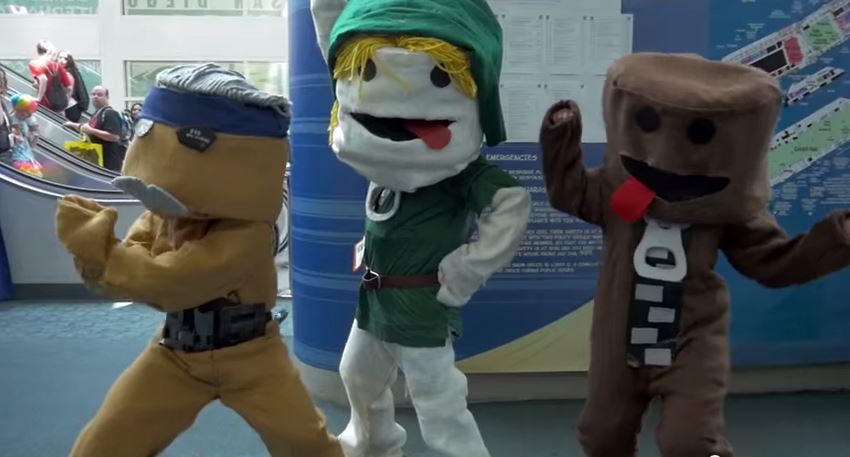
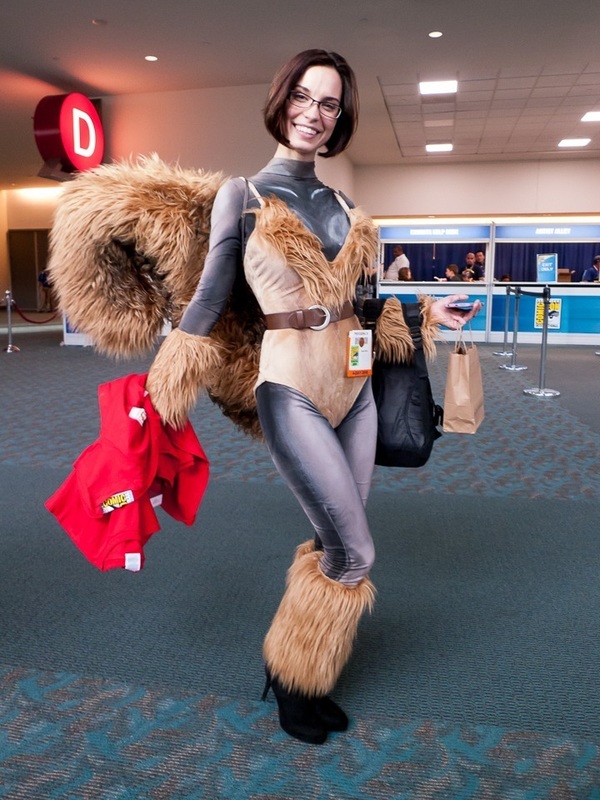
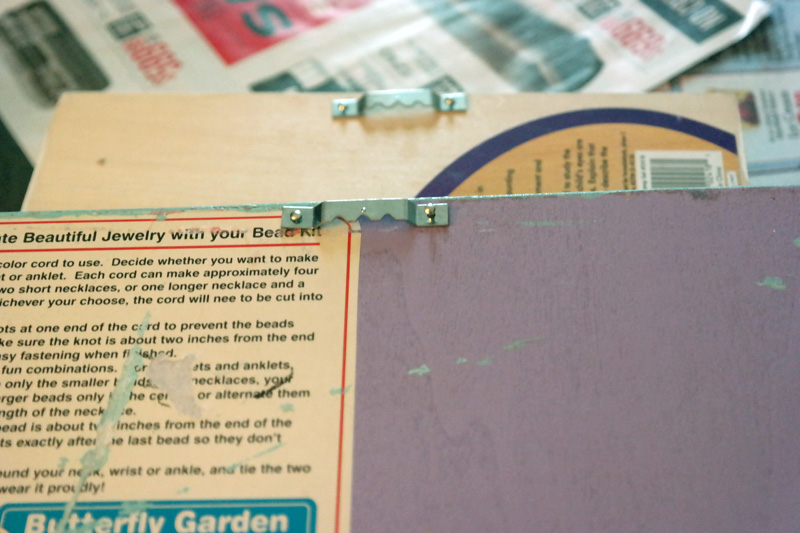
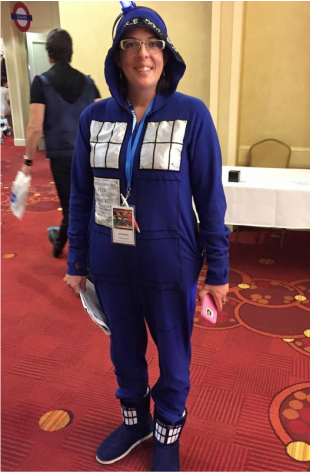
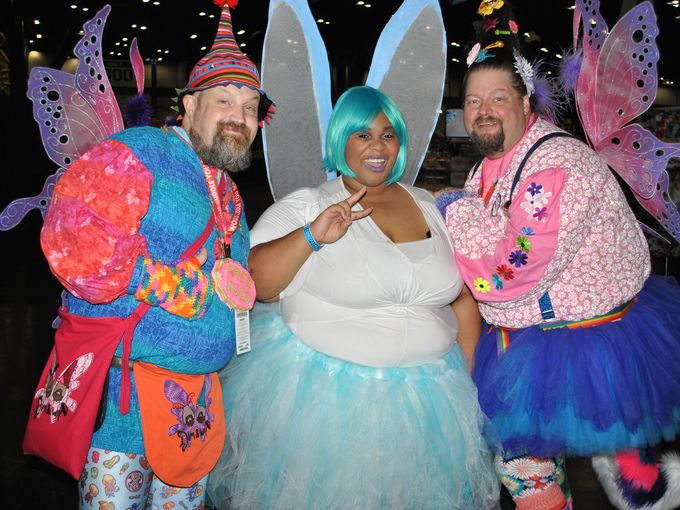
Photo in Store by Elsa-X
Cosplay Fabrics by Yaya Han landed in Joanns stores and online this week! The arrival of Ms. Han’s custom fabrics in brick-and-mortar stores expands her cosplay empire which ranges from wigs, books and worbla on her website yayahan.com to her popular line of patterns distributed by McCall’s.
What does this mean for cosplayers? Two advantages are:
1) popular crafting stores are paying attention creating potential to increase availability of cosplay product lines in-store (Wouldn't it be great to walk into Joann’s with one of their famous coupons and buy a roll of worbla?) and
2) You can see the fabric, touch it, and lick it if you must (the snozzberries taste like snozzberries!)*.
* Geek Girls, Inc. is in no way encouraging you to lick fabric. That is really gross.
As the elected guinea pig to do exactly that, I went straight to Joann’s.
*Note the stock pictures are from Joann.com and my photos were taken on a cell phone camera in the store’s lighting so you can see how the fabrics photograph in real lighting situations. These are my personal impressions. Full details are available on joanne.com
*Note the stock pictures are from Joann.com and my photos were taken on a cell phone camera in the store’s lighting so you can see how the fabrics photograph in real lighting situations. These are my personal impressions. Full details are available on joanne.com
4-way stretch metallic fabric, available in 6 colours:
$19.99 per yard, 59” wide
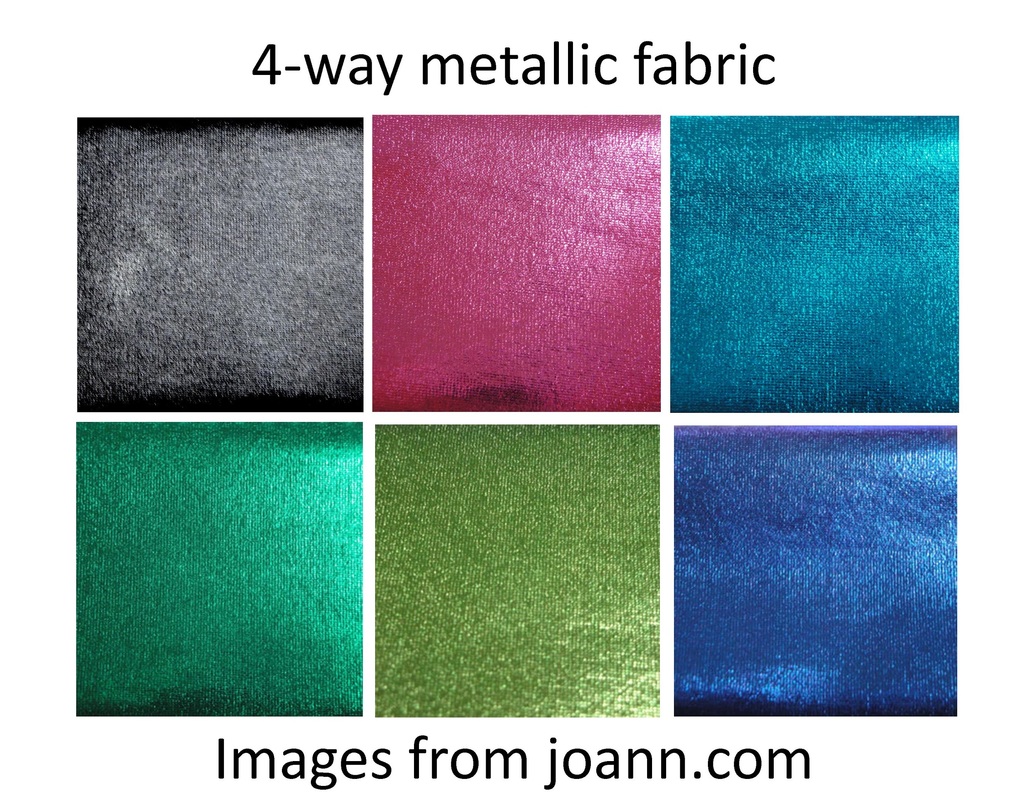 | These are beautiful basics. They provide a decent amount of stretch. As you can see in my photo, my hand is pulling out the fabric to help you judge the stretch and weight. I found these were far more of a shiny metallic as opposed to the stock photos which appear more glittery. |
Suggested Uses:
- black is perfect for batgirl (what a shame there is no purple yet for 70’s Batgirl)
- tight fitting bodysuits requiring a liquid leather look
- a thinner, more cost-effective alternative to vinyl capes
- boot covers & gloves
- see: Yaya Han’s Ultimate Body suit patterns for men and women
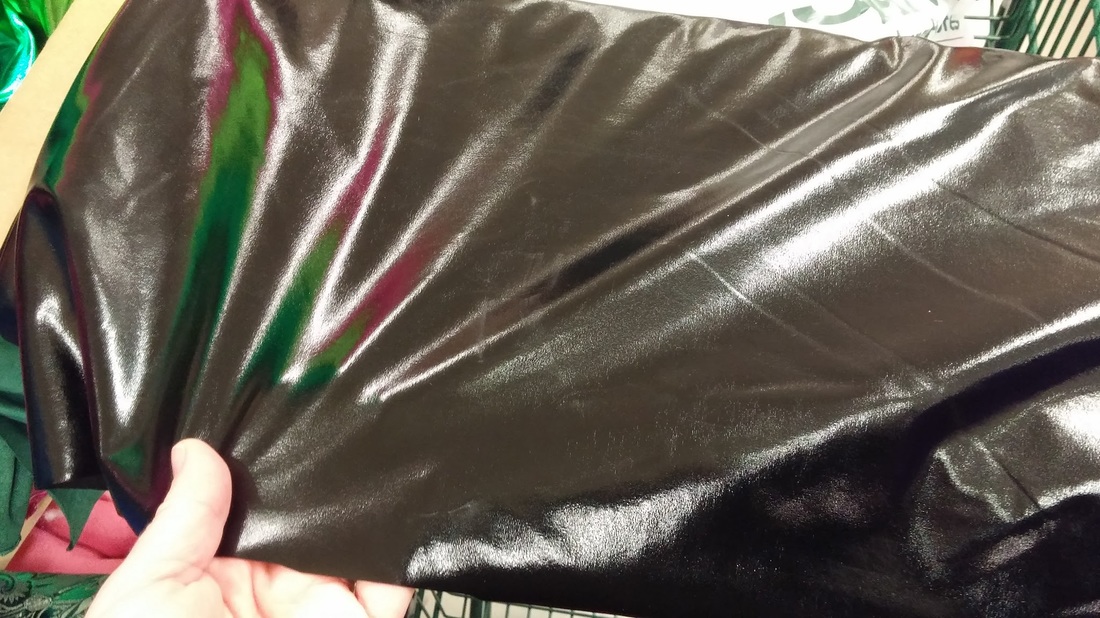
Pleather Fabric-Gunmetal and 4-way ultrapreme fabric-navy
$19.99 and $29.99 per yard, 54” wide
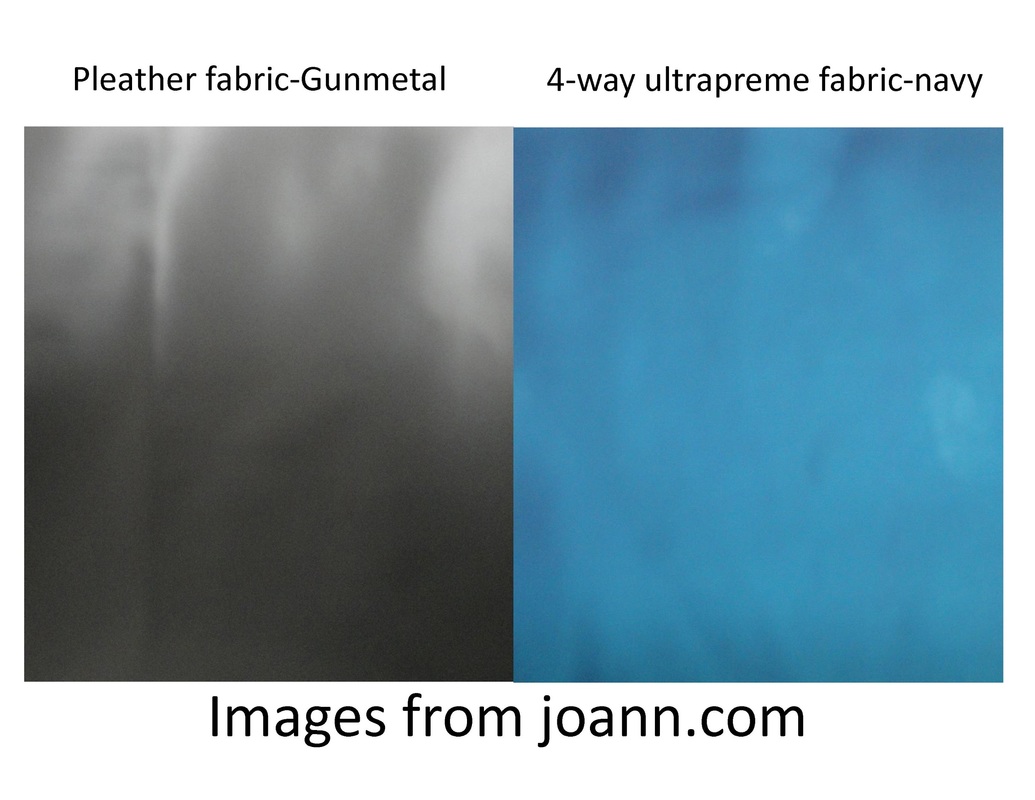 | These two fabrics are very similar in weight and stretch. They are extremely thin and very stretchy. You can see my fingers show right through yet it seems to be quite strong. The colours in the stock photos are pretty spot-on. Not sure why it’s called “navy” as it’s more of a dark teal. |
I would say it’s slightly darker in person but the shine off it makes it appear lighter in photos. In person it has a dull sheen as opposed to the metallic fabrics which are very shiny.
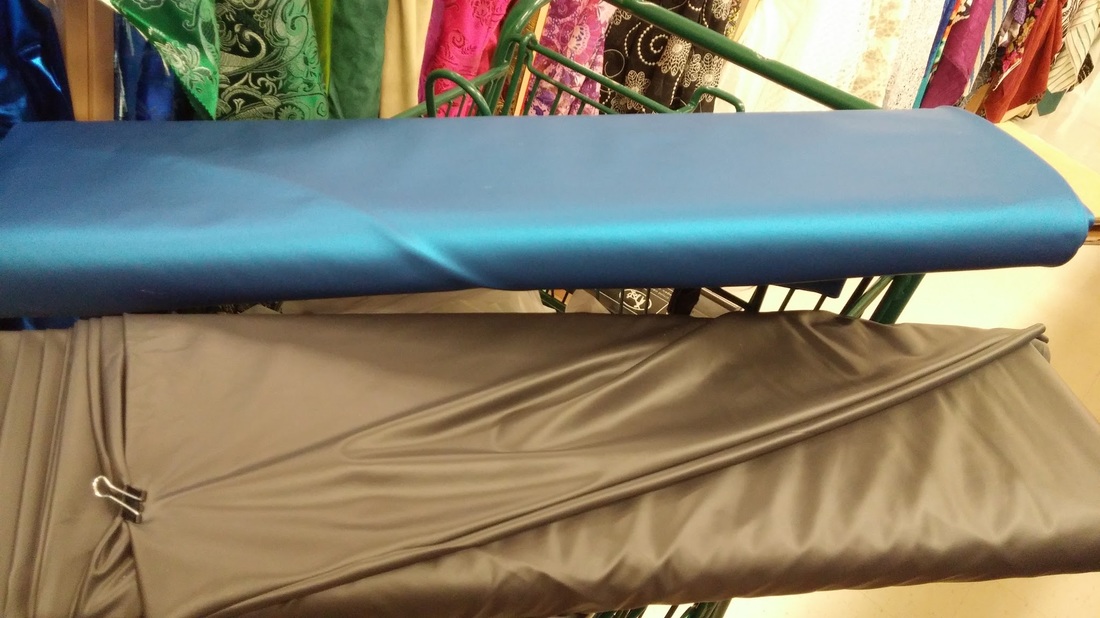
Suggested uses:
- Gloves
- Leggings
- Body suits for the brave
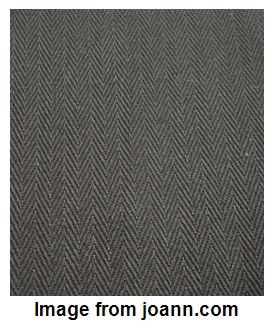
Scales Metallic Fabric: Red:
$19.99 per yard, 59” wide
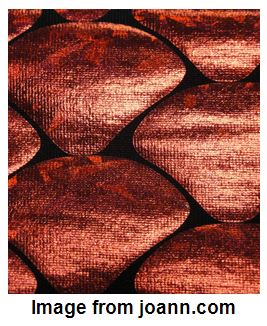 | We have a saying at Dragon Con: “I don’t know what it is, so it must be anime” which is my only explanation for this fabric’s inclusion. No offense to the anime crowd-your costumes are generally off-the-charts amazing. The fabric itself is nice. It provides a good amount of stretch (see my now familiar hand-through-fabric picture). Joann’s stock photo does not do it justice. |
It is a metallic bright red in person. Having said that, I’m not really sure what makes this fabric any more special than the many like it already available at fabric stores. And why isn't this available in green for the myriad of mermaid/sea creature cosplayers?
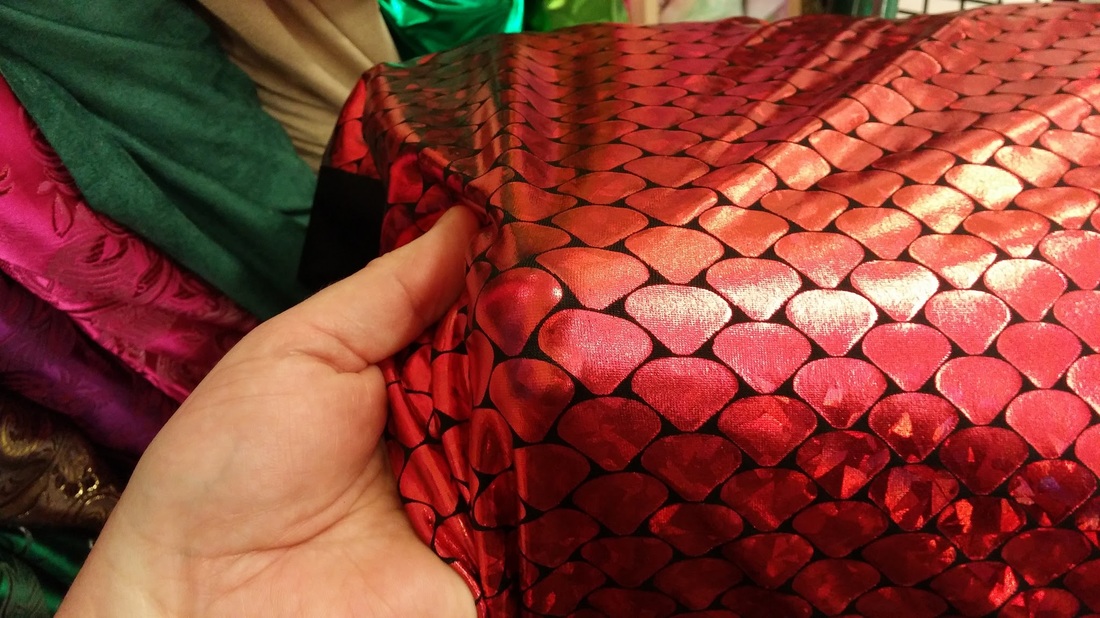
Suggested uses:
- Dragon scales
- Contrast pieces large enough to show off the pattern:
- Ceremonial sashes, back paneling, etc
Stretch suede fabric:
$29.99 per yard, 59” wide
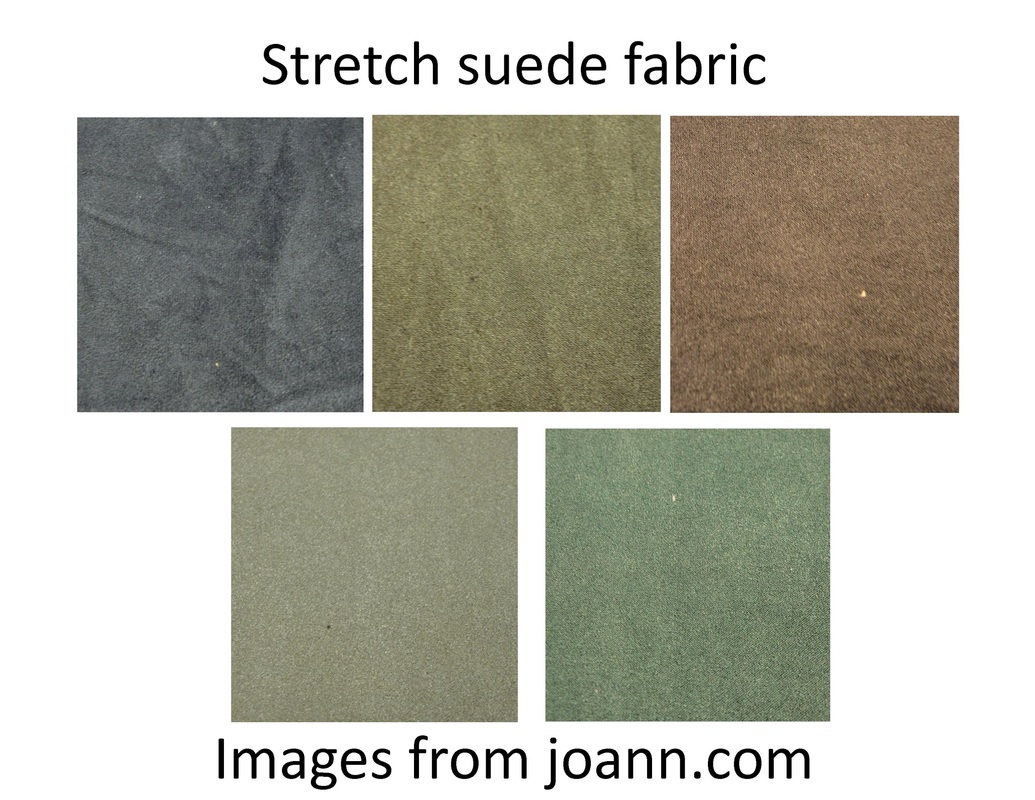 | The colors are pretty far off in person from the stock photos. They are nice. They provide good stretch. Once again, not sure why these were included as similar products are already available at most fabric stores. I feel these are more of a rough scrap leather look than suede. |
| Suggested uses:
| 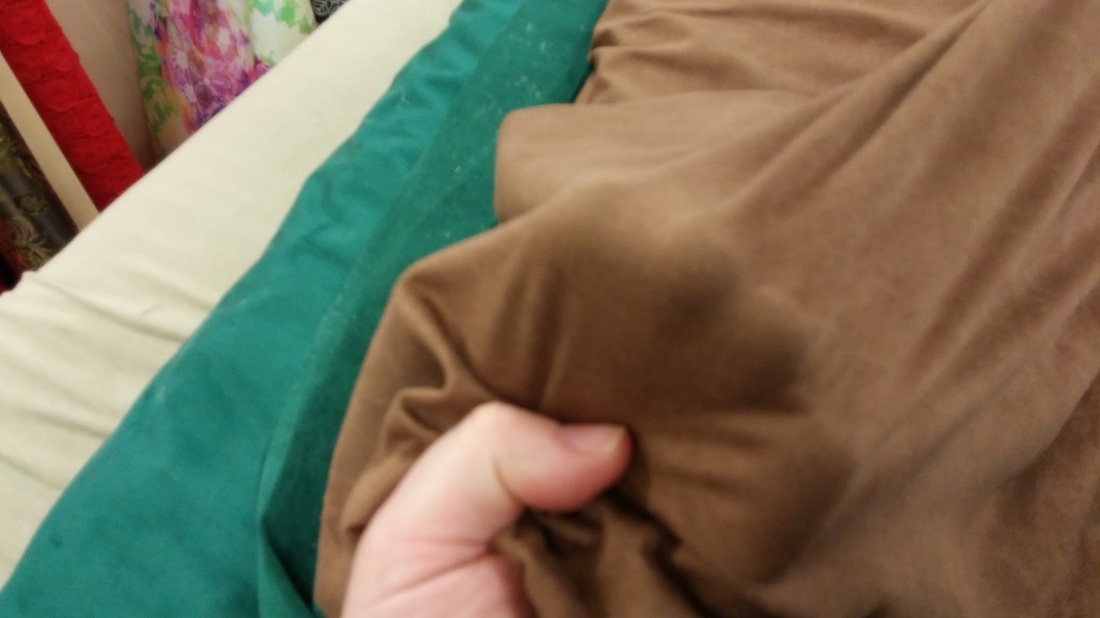 |
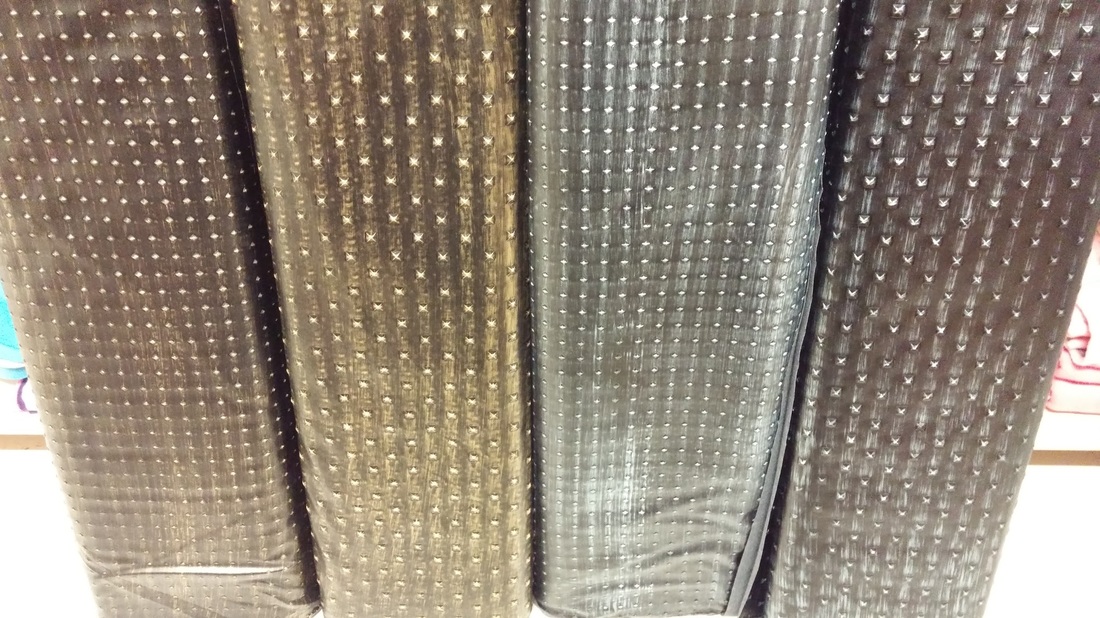
Military faux leather:
$39.99 per yard, 54” wide
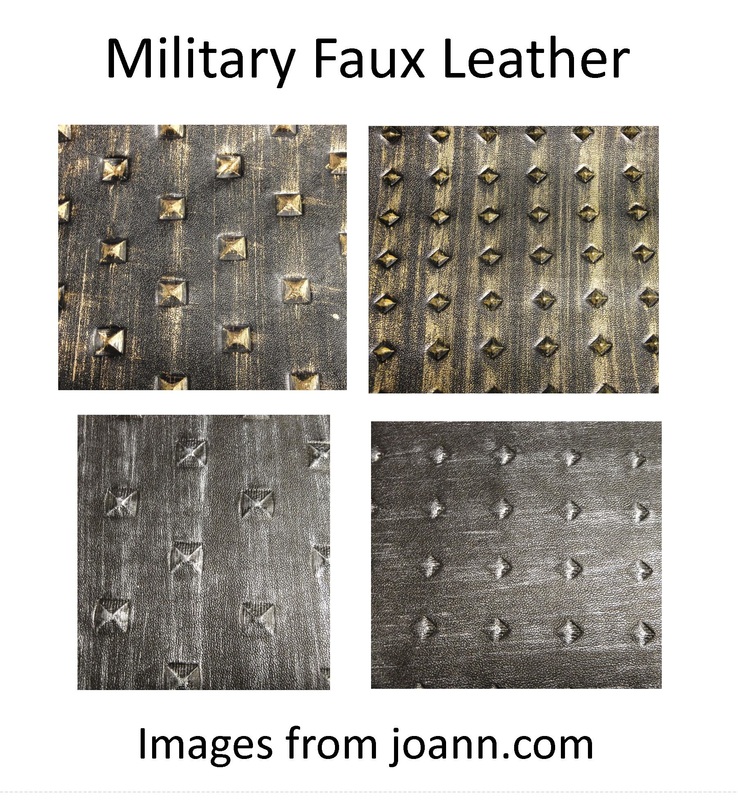 | The military faux leather fabrics were the ones I was most curious about when I viewed the website. They are difficult to describe. They are sort of rubbery. The “studs” are actually just raised bumps in the fabric, not studded on, and look fabulous in person. It has a small amount of stretch if you need to wrap it around something. I believe this will be much easier to work with than any rival materials. At $39.99 it has better be something special and it is. |
 |  |
Suggested uses:
- Military costume trim
- Armor
- Leg and arm covers
- Add dimension to weapons
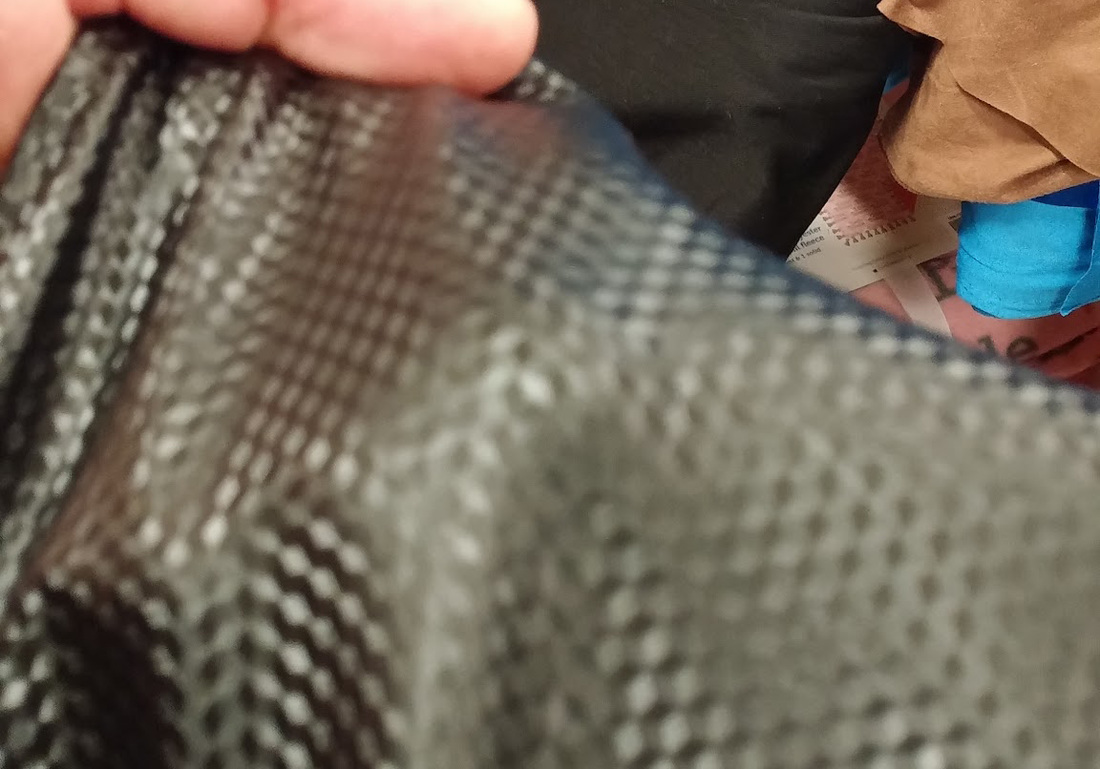
Carbon fiber fabric-black:
$29.99 per yard, 54” wide
 | Ahhhhhh this is my favourite fabric from the line. It’s one of those things that makes you think “Hmmm, what can I make out of this?” Love it. Medium stretch, great texture, photogenic. It looks black & grey in the stock photo. In person the “grey” is actually light bouncing off the texture. |
| Suggested uses:
|  |
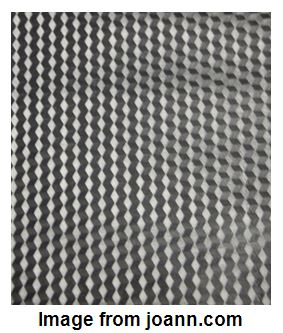
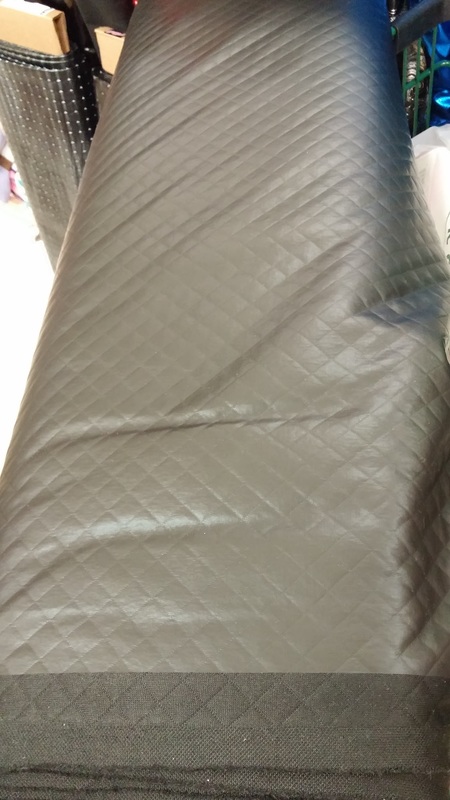
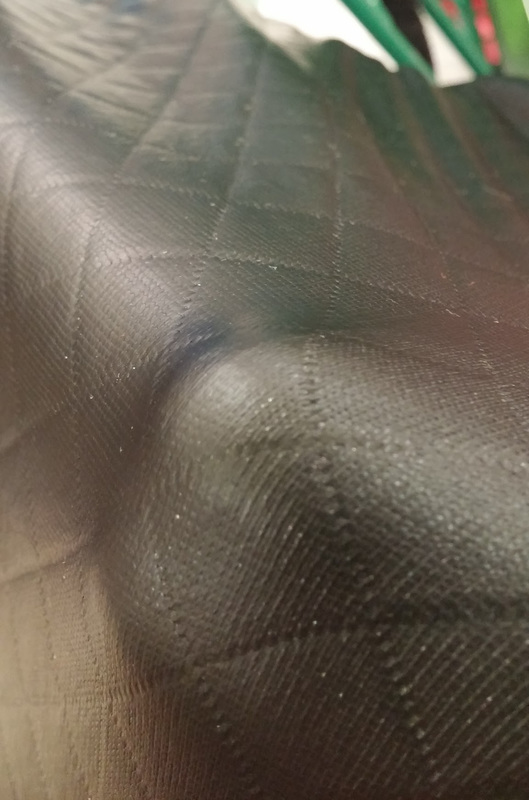
Patterned Pleather fabric:-Black square:
$29.99 per yard, 59” wide
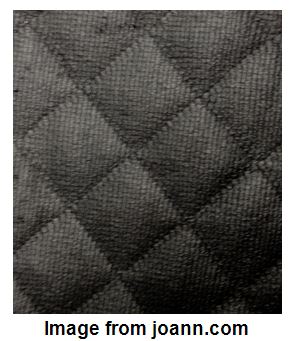 | This is nice, photographs well and provides some stretch. It is much nicer in person. Again, I’m thinking this was an unnecessary addition to the line as I’ve seen similar in multiple colours. The diamonds were smaller in person than I thought they would be, so I added the photo of the bolt to give you an idea. |
 |  Suggested uses:
|
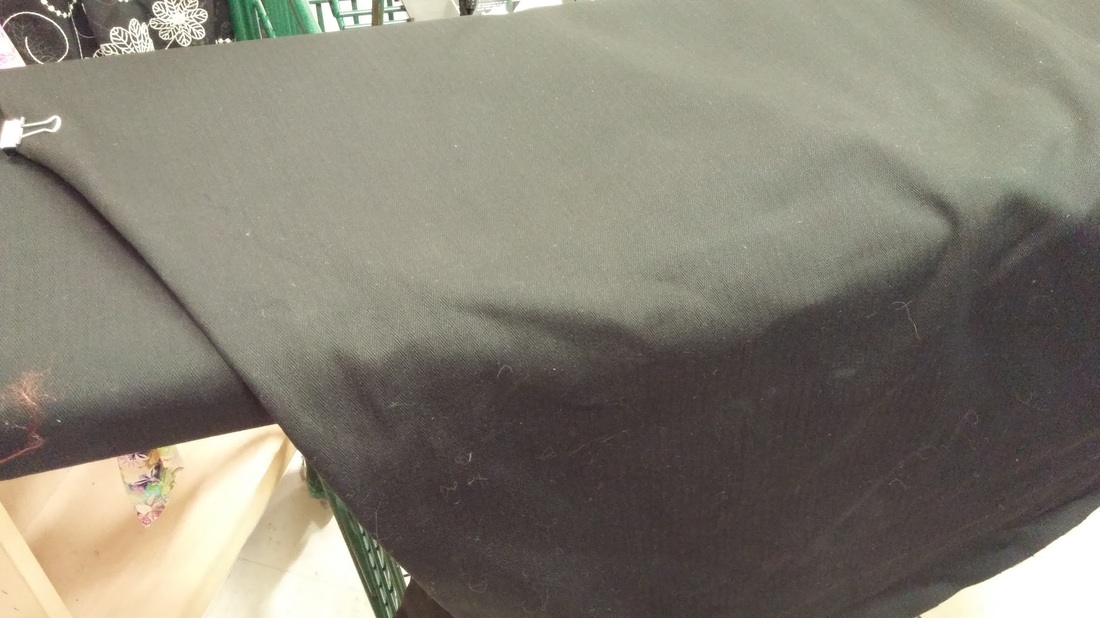
Twill corset fabric:-Black:
$19.99 per yard, 58” wide
 | I recently took a corset making class and learned that the secret to a good corset is a sturdy, non-giving fabric as the base. This seems to fit the bill exactly and compliments what Ms. Han is known for in her own cosplay. |
| Suggested uses:
|  |
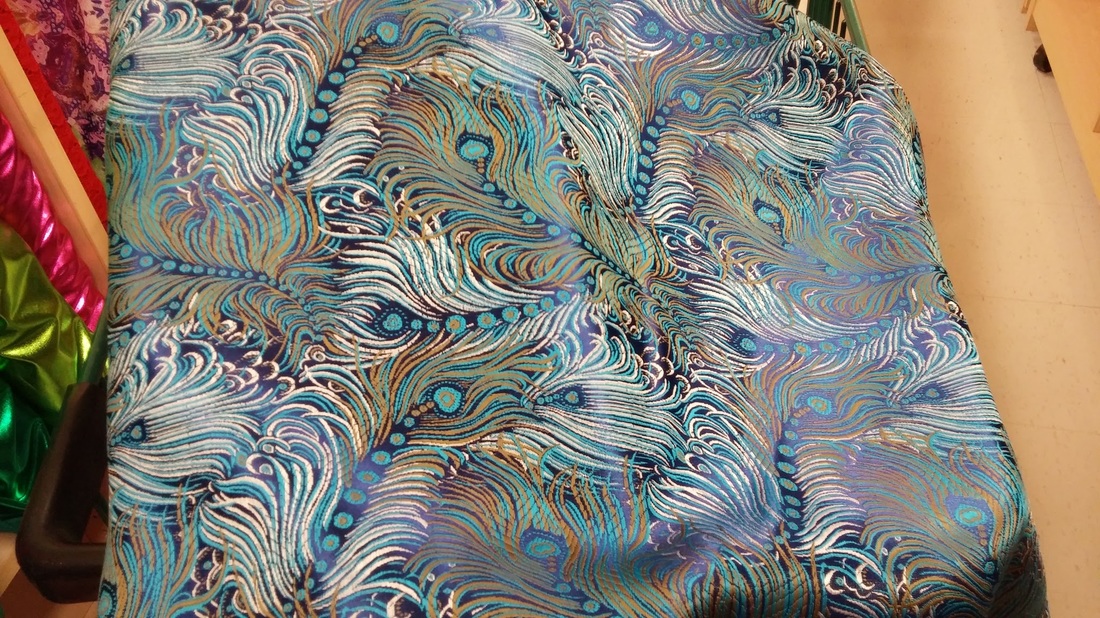
Brocade fabric:
$19.99 per yard, 59” wide
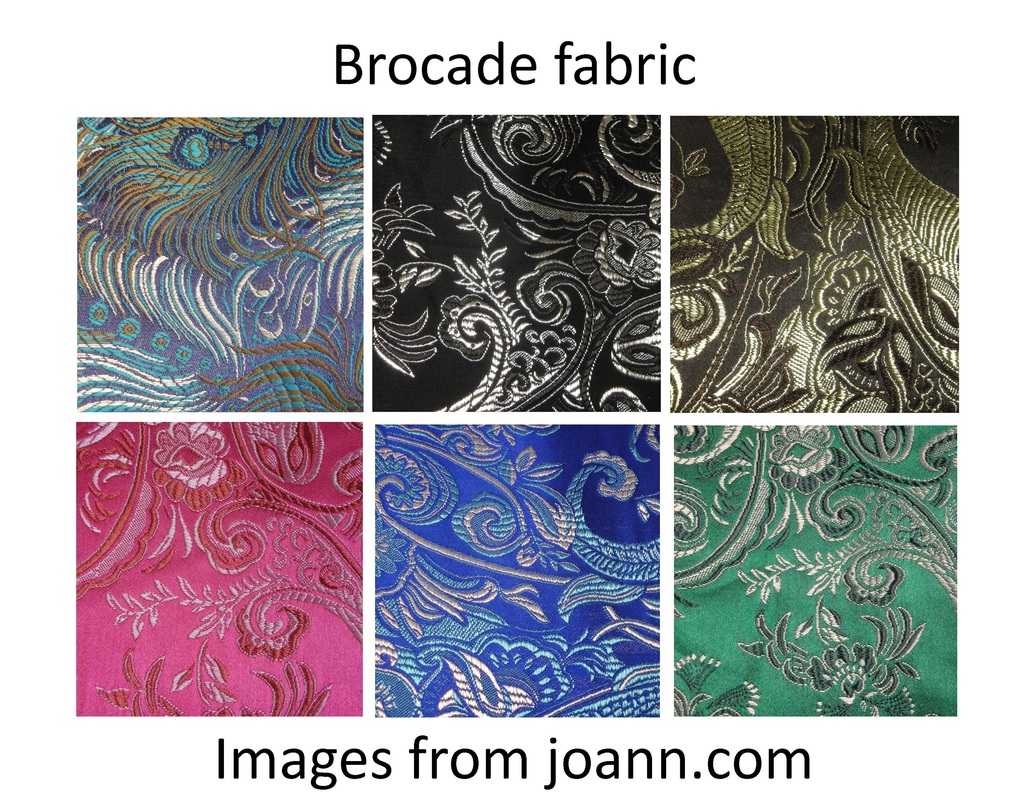 | These are nice, colorful and sturdy brocades. The 5 colors photograph well. Peacock is definitely better in person. They would make really beautiful corsets. Yes they are similar to other brocades available, but the price is good for the quality. These also compliment the McCall patterns by Ms. Han. |
 | Suggested uses:
|
While I do think this line of fabrics is a good start, Joann’s should consider more of a “collection” approach, where its products can be sold individually or work together. It would be great to see a finished costume, with the pattern, fabrics, and extras (buttons, feathers, what have you) all available in the same store. Beginners can then follow the pattern with everything they need in one section of one store. Seasoned cosplayers can buy what they like & make it their own.
Cosplay Fabrics by Yaya Han are an excellent start to a (hopefully) bigger and more comprehensive line of cosplay products available in stores. Now go to your nearest Joann’s to touch, stretch, and taste* (if you must) for yourself.
Geek Girls, Inc. would love to hear YOUR opinions on these fabrics!


 RSS Feed