by Gina
While developing her new Big Hero 6 cosplay, our guest columnist, Gina, decided to level up her already impressive maker craft skills by taking on new materials and technologies. She is graciously documenting her process to share it with our readers!
Stage One:
How to make a basic 3D silicone mold: Big Hero 6 Microbot
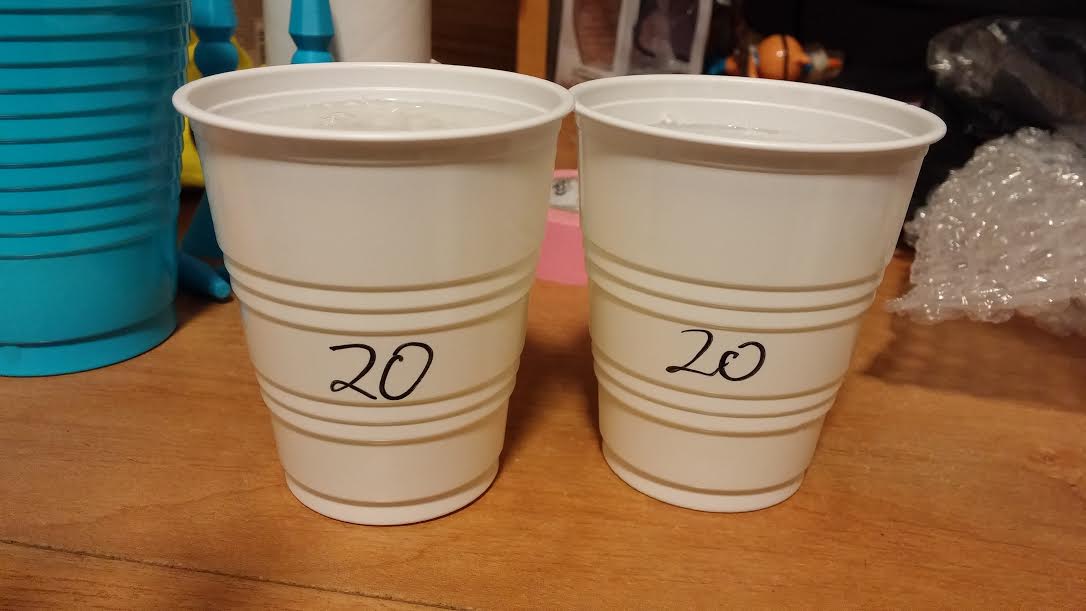
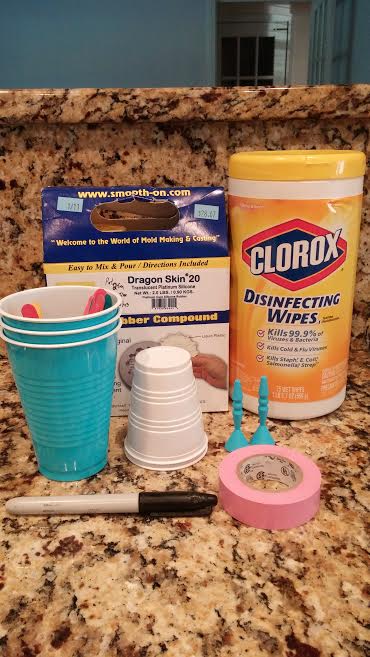 | Materials used: 3D printed Microbot Smooth-On Dragon Skin 20 silicone Wooden sticks Plastic cups in two sizes: one large for mixing and one to set the mold Tape to secure object Marker Scissors Clorox wipes* *Silicone is very difficult to clean off of your hands and surfaces. You do not want to skip having cleaning wipes readily available. |
The object I used for molding in this tutorial is Hiro’s microbot from Big Hero 6. I used the 3D file by mintymike found here http://www.thingiverse.com/thing:536361, then added a cone in TinkerCad to make a pour spout which printed cone base first on the 3D printer.
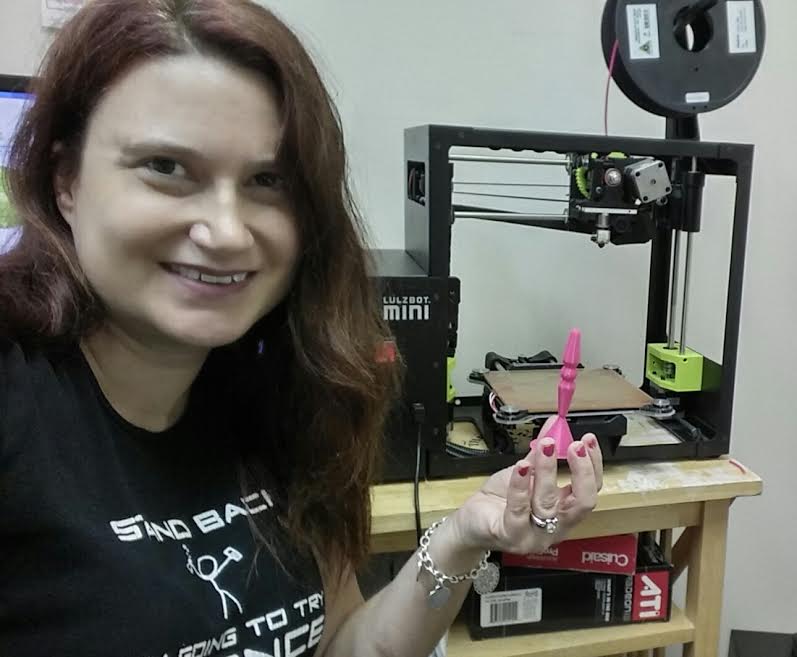
You can use a variety of 3D printed or found objects. You will need to add a pour spout or cut one in after silicone cures. There are numerous free 3D files on Thingiverse. If you do not have a 3D printer, you may find one at your local library or Maker’s Station.
TIP: Start with very simple objects. Objects with more detailed parts may require additional pour spouts or 2+ molds. The silicone I used is Dragon Skin 20 from Smooth-On. The first thing you need to do is find your pot time & mold time for each product, found here: http://www.smooth-on.com/Silicone-Rubber-an/c2_1115_1129/index.html Pot life is how long you have to mix and set the mold; mold time is how long it will take to completely set. This information should be listed on each manufacturer’s website. | 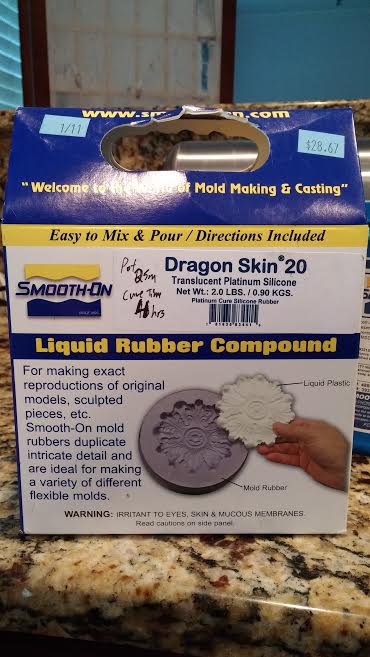 |
STEP ONE: measuring how much silicone you need
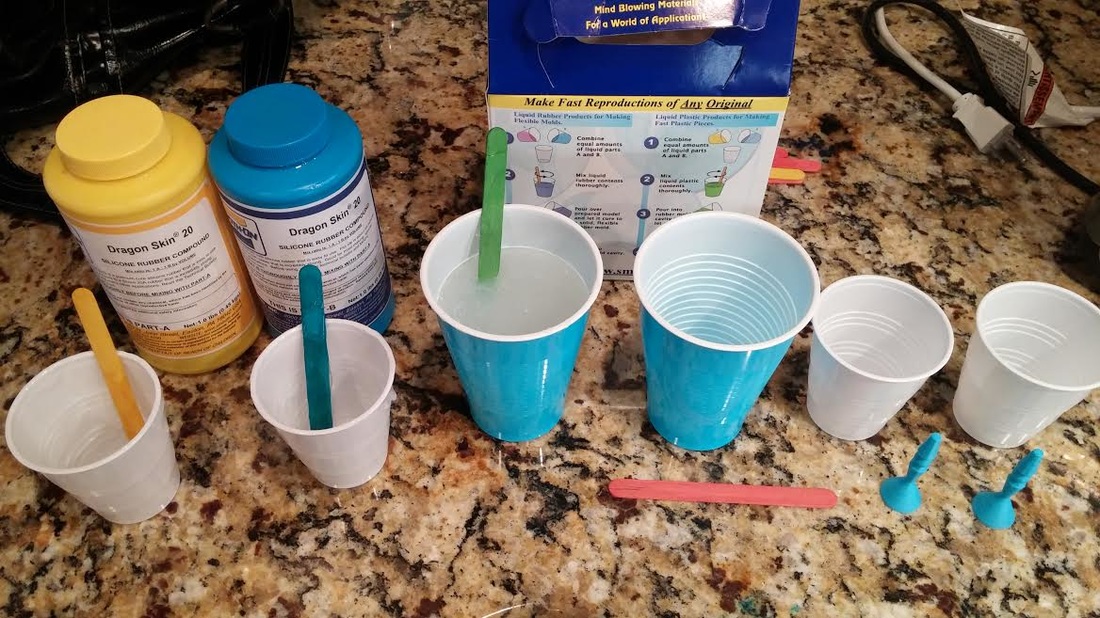
Smooth-On has a mixing ratio of 1:1, meaning equal parts from bottles A & B together, by weight or volume, which means you can use either a scale or measuring cup to determine how much you need of each. I filled the small cup up with water, measured it, then halved the amount to determine how much of each part I would need. Ex: if your cup measures 10 CCs of fluid, you would need 5 CCs of part A and 5 CCs of part B.
Smooth-On has a mixing ratio of 1:1, meaning equal parts from bottles A & B together, by weight or volume, which means you can use either a scale or measuring cup to determine how much you need of each. I filled the small cup up with water, measured it, then halved the amount to determine how much of each part I would need. Ex: if your cup measures 10 CCs of fluid, you would need 5 CCs of part A and 5 CCs of part B.
TIP: Always mix more than you need as you will lose silicone every time you transfer it to a new cup!
STEP TWO: Mix
Pour Part A and Part B into separate cups to ensure they are equal. Pour the contents of both cups (part A & B) into a larger cup, scraping out as much of the contents as you can, and start mixing with a wooden stick/tongue depressor. Your pot time starts as soon as you combine parts A and B (in this case, 25 min). Mix as thoroughly as possible. Note in photo the contents are now in the first large cup.
Pour Part A and Part B into separate cups to ensure they are equal. Pour the contents of both cups (part A & B) into a larger cup, scraping out as much of the contents as you can, and start mixing with a wooden stick/tongue depressor. Your pot time starts as soon as you combine parts A and B (in this case, 25 min). Mix as thoroughly as possible. Note in photo the contents are now in the first large cup.
TIP: I set out all the cups and sticks for this process before I begin for speed and mess control.
STEP THREE: Transfer contents and mix in second large cup*
*This step is not in the directions but is necessary for proper mixing. You will most likely get sticky spots in your mold if you skip this that will never harden and you will have to start again.
Transfer the contents to the second large mixing cup, scraping as much of the contents out as you can. DISCARD BOTH THE FIRST CUP AND FIRST STIRRING STICK. Start with an unused stick to stir the contents now in the second cup as thoroughly as possible.
TIP: You may see bubbles in the silicone. The bubbles in Smooth-On silicone will slowly rise up as its setting and shouldn’t affect your mold.
STEP FOUR: Molding your object
Now that your silicone is mixed, pour the contents into the cup you will use for molding. (I molded 2 Microbots so there are 2 smaller cups in photo) Place your object into the center of the silicone, with the pour spout base on top, making sure there is at least a half an inch of silicone between the object and the bottom and sides of the cup.
Now that your silicone is mixed, pour the contents into the cup you will use for molding. (I molded 2 Microbots so there are 2 smaller cups in photo) Place your object into the center of the silicone, with the pour spout base on top, making sure there is at least a half an inch of silicone between the object and the bottom and sides of the cup.
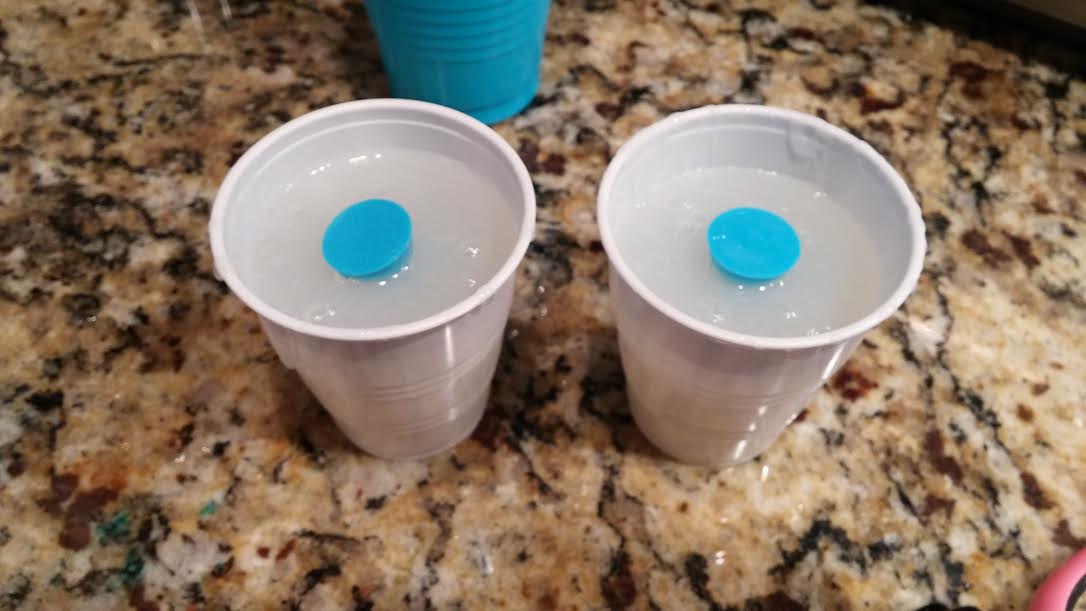
| The microbots were moving around making them off-center, so I secured the bases to the cup with tape. | TIP: They make pink electrical tape. ;) |
STEP SIX: Demold object
Take a sharp pair of scissors and carefully cut from the edge of your object to the edge of the cup, slowly pulling apart the silicone as you go to ensure you are cutting as straight a line as possible down your mold. Silicone is very stretchy and will snap back to your original mold cavity as long as it doesn’t crack.
Take a sharp pair of scissors and carefully cut from the edge of your object to the edge of the cup, slowly pulling apart the silicone as you go to ensure you are cutting as straight a line as possible down your mold. Silicone is very stretchy and will snap back to your original mold cavity as long as it doesn’t crack.
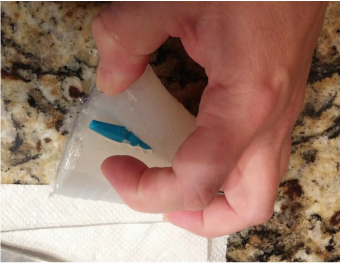 Pull the object out and you have your mold! Success! | 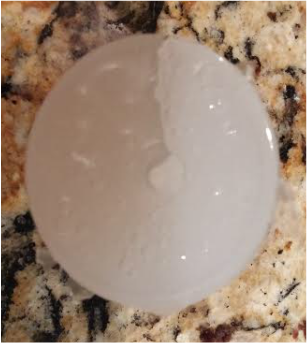 |
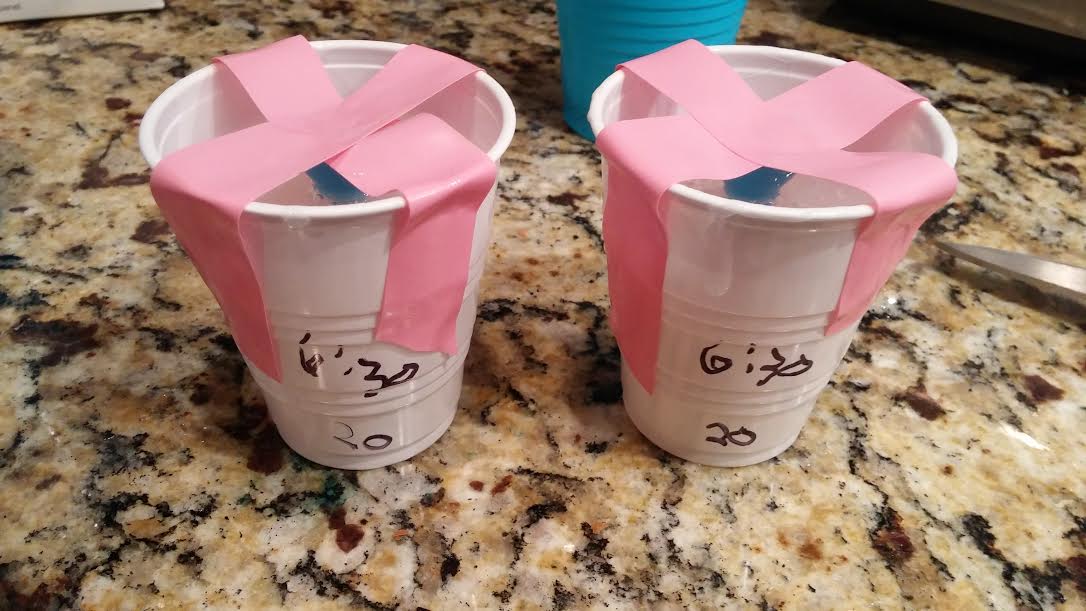
 | TIP: I put my molds back in a cup for added storage protection. I also experiment with different products and like to mark what I used on the cup. |
Coming soon: using your mold to cast epoxy resin.
 RSS Feed